Tuesday, February 28, 2012

AAAAAH! Real Monsters!

K's 5th birthday! 

Oh man, 5 years?? 

just craziness!

So, she wanted something pink, and something with googly eyes (Thanks Nana and Poppie!)

We went with monsters.

Here they are:

She wanted strawberry and chocolate - so I complied! 


Shiny pink frosting looks great!


Adding a little purple for hair....eyebrows...beards...whatever sounded fun!


Then we added some mini m&ms for noses:

and added the googly eyes :)

fun and unique!


and then some fun mouths!


Then we started on the purple ones....


SO pretty!


looking silly!


See?


And now for their mouths...


And my personal favorite!


Christmas Snowglobe Cupcakes

I love Bakerella

Seriously - if you've never visited her site, go there. Right now. She's fabulous!

So, I desperately wanted to make these last year for my school's Christmas party, but our Wal-mart was apparently sold out of the cool Coke bottles. :(

So, as soon as I saw the cute Coke bottles here, I bought several!

Then, I knew what I'd use them for - Christmas gifts for K's teachers. And they were a hit!

Here are the little fondant bears in process:


And here's the close up of the final product: 

They look fairly real! Even when these things take forever to make, it always seems worth it in the end to see the final product!


OH!!

And, I made spiced cupcakes with eggnog frosting....it was absolutely divine!

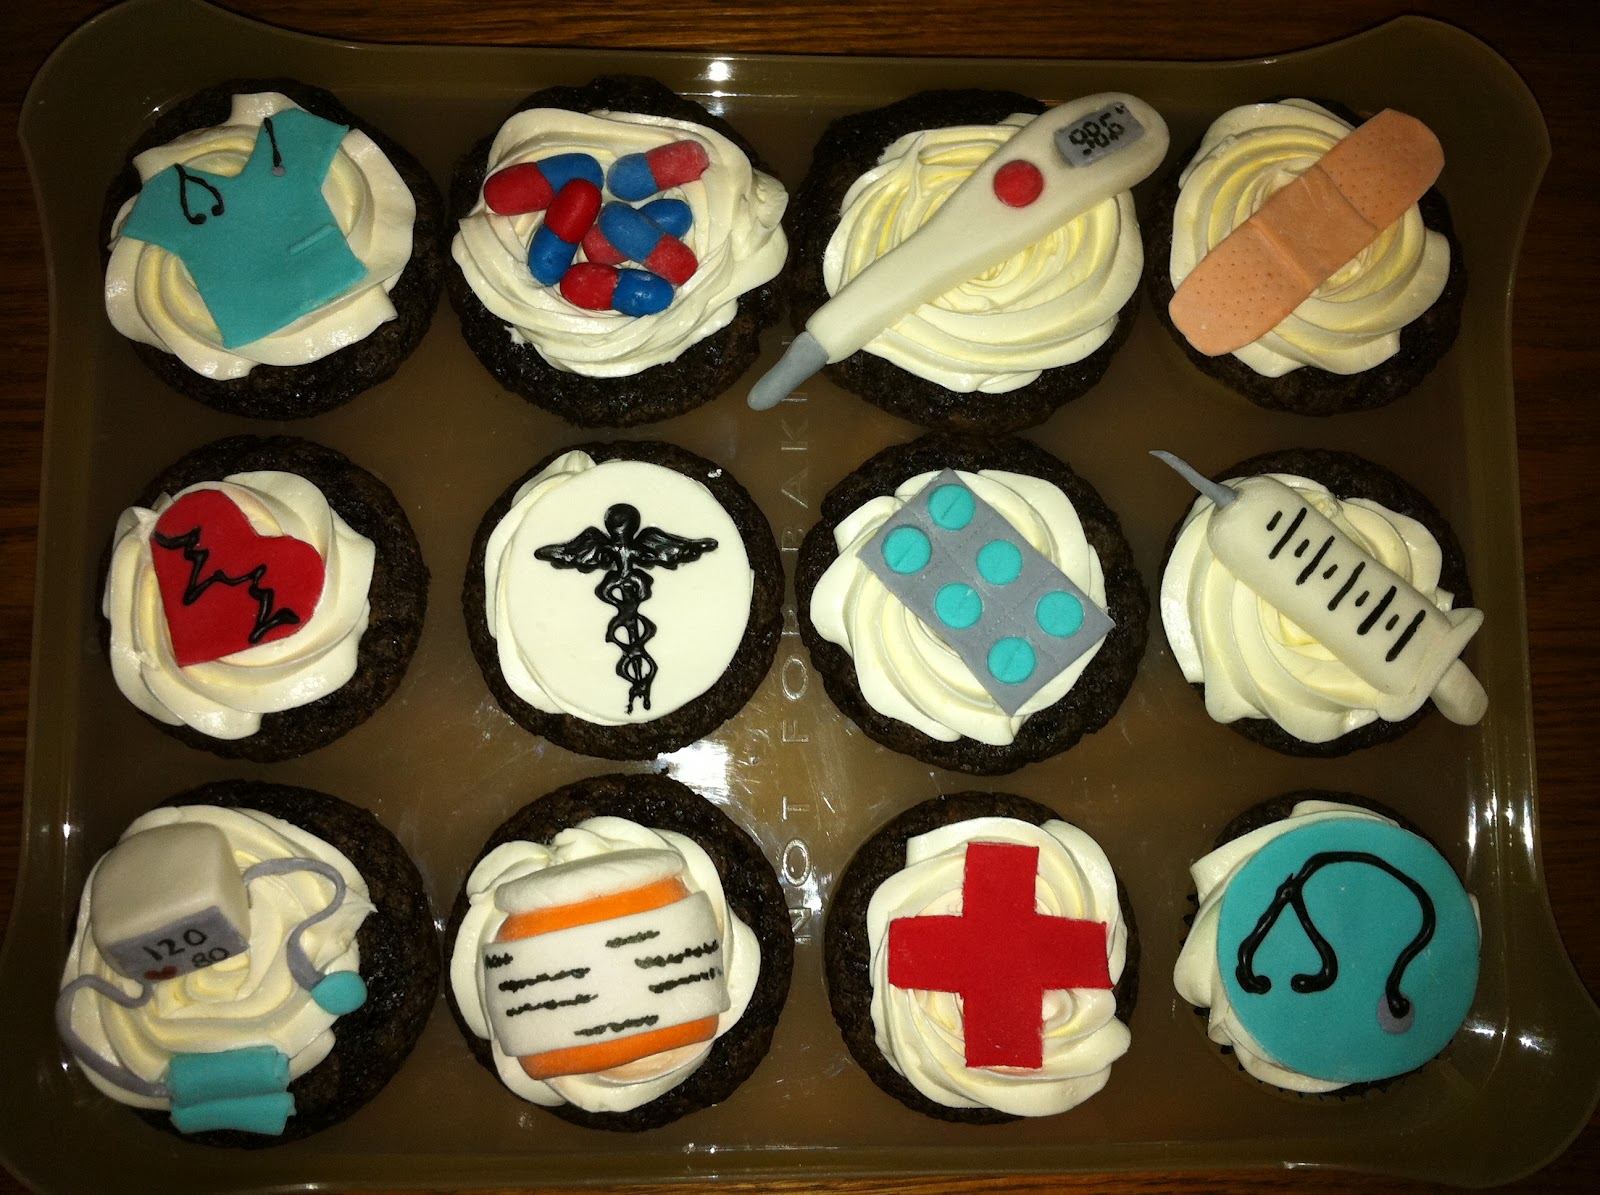
Doctor cupcakes!

Another one of Stephen's coworkers was 'retiring' to head off to med school, and I was, of course, volunteered to make something sweet :)

So, I had just found this site and really wanted to try some new flavors. I used #22 (minus the nutella ganache) for these:


And then I also used #29: Strawberry jam filled vanilla - equally delicious (but they only make around 12-13 per recipe!)

So, the final decoration for the future med student: 


Super fun, but actually a lot of work - there were tons of tiny details to work on, and there wasn't a lot of repetition, so I couldn't get a good flow. But I really liked the end product, so it was worth it! 

Thanksgiving yumminess!

I've fallen behind on my posting- sorry!

I've made several cakes since the last post - hopefully I can include them all soon! 

So, our apartment had a thanksgiving get together, and I found a whole bunch of cutesy foods I wanted to try!

K helped me make Indian Corn Cookies:


Reese's Pieces and Fruit Rollups = fun!


Then we made little pilgrim's hats with reese's cups and cookies!


Then for the adults, I picked some more sophisticated desserts.

I wanted to make Chai Pumpkin Spice cookies that I found here but apparently pumpkin kisses are really hard to come by... so I opted for a bag of Dove white chocolate melts. They look like a pad of butter, but they were amazing!


Then I really wanted to try this recipe but we didn't have enough people in our home to eat it, so Thanksgiving was a great time to try it out! The honey and lemon really worked well together!


Next up, I made a few things for actual Thanksgiving, which we hosted our downstairs neighbor (it was so nice to have a guest!)

Stephen is a pumpkin pie fan, so I wanted to make it a little more fun - K really wanted to make a braided crust, so we started out by cutting our crust in a spiral (and yes, that's a store bought crust...when I'm making a whole dinner alone for new friends the first time, I didn't have time for homemade crust!)


Here's how it looked (with a little egg brushed on for browning)

Then I made a cherry pie for me. Oh, how I love cherry pies! and I loved making the design too!

And, because I can't *not* make some kind of cake during the holidays.... I made orange spiced cupcakes with cranberry buttercream frosting - super yum!

Tuesday, September 20, 2011

Late night craving...

Okay...let me just tell you first off - these aren't cakes!

But they are stinkin' delicious!!

So, last night S and I are watching the Hell's Kitchen finale and of course, it made me hungry. Unfortunately this was about....10:30 or 11 pm! But, what can I say? I like food and if I'm hungry, I'm gonna eat!

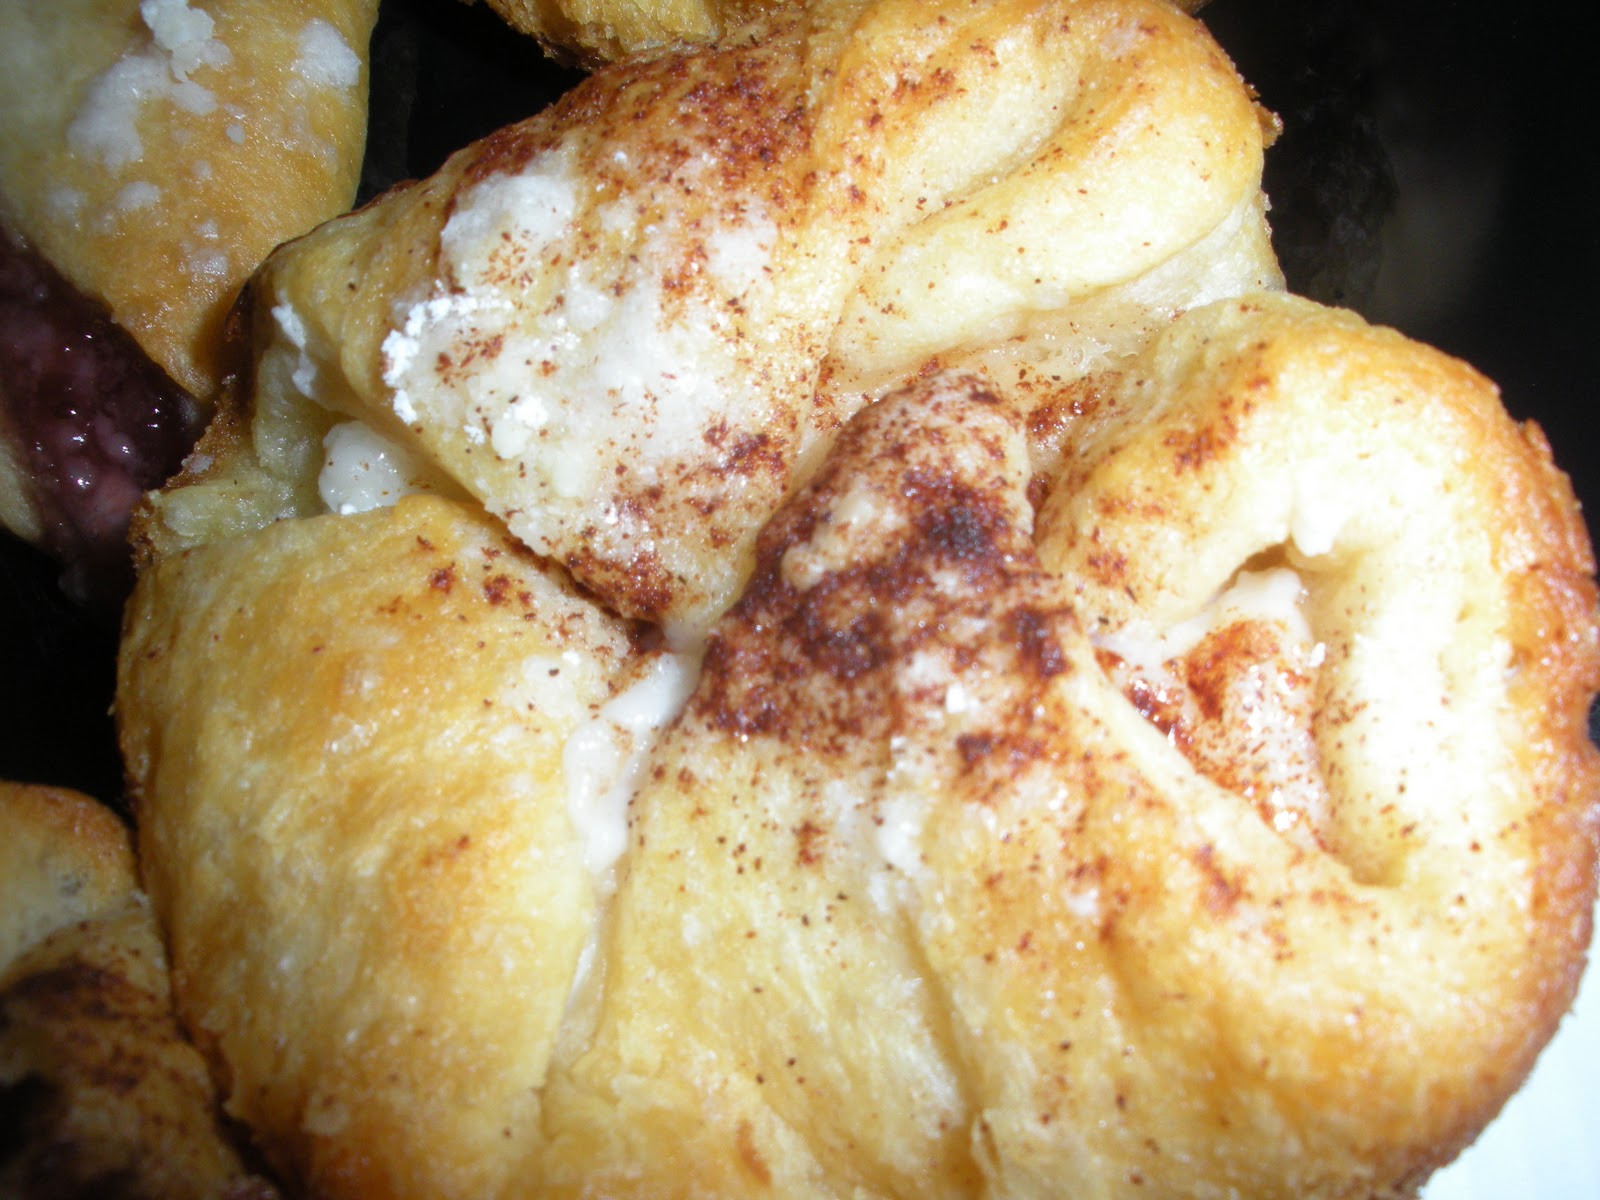
I looked in the fridge to see what we had that could be made quickly and remembered I had some cream cheese and crescent rolls....mmmmm....Sopapilla Cheesecake came to mind!

But, true to fashion, I did not have enough of those ingredients....or a pan in the correct size (yes, my sink was full and I'll do them today, okay??)

That's when it hit me! Muffin tin!

So, here's what I came up with:


  • 1 package of cream cheese
  • 1 lid's worth of Mexican vanilla (sorry! this is how i frequently measure this!! It's about the size of a 20 oz. Coke bottle lid, FYI)
  • approx. 1 cup powdered sugar (approximate b/c I kept pouring in until it seemed spreadable and tasted good!)
  • --- mix first 3 ingredients and set aside - probably easier if my cream cheese had softened!
  • 2 heaping plastic spoonfuls of country crock, melted (note - change to butter!!!)
  • 1 can of crescent rolls
  • powdered sugar and cinnamon for dusting
Because I was working with limited ingredients I needed to make my 8 rolls fit my 6 muffin pan.
First I made a slice across 1/3 of the half that were laid out:

Then I took the 2/3 side (from the bottom half to make a square) and put it in the muffin tin. Easy to do for 4 of them. For the last two, I had to take the 1/3 'scraps' and put them together to make a square too.

Then I took 2 heaping plastic spoonfuls of the cream cheese mixture (probably too much in hindsight but I was trying to split all that mix by 6!) and plopped them on top of the roll.

When filled, take the corners of the square and fold over the cream cheese mix and pinch together.

Then, take your butter spoon over each roll - mine ended up at about 1 1/2 spoonfuls each - basically you just want to make sure there's butter on top, and some butter in the bottom b/c you don't want this getting really crunchy.

Then sprinkle with powdered sugar and cinnamon.


Throw it in your oven (pre-heated to 350) for anywhere from 10-14 minutes (depending on your oven - just watch them to make sure they don't over cook!)

I probably should have let them cool in the pan for about 5 minutes. But I didn't want to! So they were pretty tricky to get out without my heaping cream cheese mix spilling out. See?


I did a little magic with a spatula and tongs though.


Pay no attention to the little one in the center. That was leftover dough with some strawberry jelly thrown in there for the hubs. He's a fan of strawberries.


They are almost as good looking as they tasted!! 


mmmmmmmmmmmmmmmmmmmmmmmmmmm

(The only thing I'd change is using about 1/2 the amount of cream cheese b/c there just wasn't enough breading for the ratio I prefer. Oh, and butter. Butter is always a better flavor option, but we had about 1 tablespoon left.)


Monday, September 12, 2011

1st post-move cake!

I haven't made a cake since May! 

(might have something to do with the fact that this summer I drove through 16 states in 30 days and we moved halfway across the country)

So, I don't have a ginormous kitchen any more (although I'm thinking I actually have the same amount of counter space in this apartment...hmm....) but I was anxious to get back to baking!

My husband volunteered me (behind my back) to make a cake for a going away party at his work. 
For someone he's barely met. 
Because he didn't want to pay the $10 toward the party. 
(Does he know how much these cakes cost???)


Anyway...  my husband tells me that this person worked in HIV research and could I make an HIV cake for him? Well, sure! 

Here is my reference picture:

Of course while I'm counting how many circles and bars to make he's blabbing to me about how it doesn't have to be perfect. Um... death stare! Of course it should be exact!

(Later I realized that he meant this is a 2D pic of a 3D form and we're looking into the inside and there could be lots of little yellow 'trees' all over the outside of the form, not necessarily 13 of them or even these colors... but oh well, right?)
Okay...this time around I tried to do a little more photo documenting instead of just presenting a final product. 

Unfortunately, I didn't remember this until I had baked and covered the cake. 

Oops!

It's a shame too, because I used a dome cake this time (thanks to my friend J for giving that pan set to me!) and it would have been neat to show how I had to fit it all together.

Maybe S will take a picture when they cut into it at the party?

So, I remembered to take pics right in the middle of my mess-making...
I, of course, always make a mess when I bake. 

You can see a small part of that constarch-y explosion with my little cut pieces:

Just imagine it all over the kitchen!

I got the base fondant layers on the cake:


No, those aren't two different cakes... I was trying out flash settings on my iphone. The second picture is a little more realistic of the actual colors.


Once I was able to focus on the details part of the decorating, I realized that my 'trees' were going to be way too big to put on a toothpick and still be supported in the cake. I almost taped toothpicks together to make it longer. (I was desperate!)

Then I remembered I had some lollipop sticks from some cake pops! Phew!

Cover with a little fondant rolled around the middle and they're all set!

Next up: add the yellow tops to the 'trees'. 

Maybe I should ask my husband what the 'trees' really are? naaaaah!


And then while those were setting, I got the orange and white balls and added them on.


My next step was going to be to get the last tiny bit of my buttercream frosting to pipe the little white lines and dots in the center of the image. 

But, I couldn't get my makeshift piping bag (ziplock) to pipe that small in a smooth line. 

Enter the fondant again!


I ended up painting the top of the little designs with some gel coloring b/c I was afraid it would take too long to color each part of the fondant the way I wanted (and make it in time for the party), but I'm actually really pleased with the painted look. 

It's kinda fun, and the white borders make them stand out!


Next, I added the 'trees'. 


Looks pretty, huh? I really like the bright colors against each other!


And, I like how the 'trees' give it a little more 3D awesomeness.


Okay, and just for a little comparison:


This was fun to make, and I'm happy to be baking again!

~~~~~~~~~~~~

Got a text from S after I took it up to his work:

'Everyone loves it, by the way. Dr. Gillis identified it right when I walked in the door and she made Marc ID it before the party started. He had a great look on his face. Good job, babe.'

Hooray!


Tuesday, August 30, 2011

No kids and rum? Yes, please!

So, a couple weekends ago I drove up to Atlanta for a 'mommy weekend' with some great gals from one of my online boards. We all have kids born in the same month and year so we started a little forum to chat about our kids. Well, we became even closer than imagined and started planning annual 'retreats' to take a break from the kids and enjoy some grown up time!

Since I was driving and because we were staying at a home instead of a hotel (seriously, C has the most amazing home- way better than a hotel!) I decided the weekend needed a little baking.

I wanted to try a cake ball recipe with rum in it, and a few Internet pages later I found recipes for rum balls. Mmmmmmmm!

Here's the first recipe I found:

~~~~~~~~~~~~~~~~~~~~~~~~~~~~~~~~~~~~~~~~~~~
I pkg Nilla wafers
1 cup pecans
1 cup confectioner sugar
1 1/2 Tbsp cocoa
3 Tbsp lite corn syrup
1/4 cup bourbon or rum

Crush wafers and nuts in food processsor. Add sugar, cocoa, corn syrup and bourbon. Mix well.
Measure out teaspoonful of mix and roll into ball. Roll ball in something else like nuts or chocolate if you want. They stay good for weeks and weeks.
~~~~~~~~~~~~~~~~~~~~~~~~~~~~~~~~~~~~~~~~~~~

Sounds great, right? Well, not if you dont really like nuts (me) :-P

I thought I could just use some Heath baking bits (crunchy and delicious) but the store was out! Boo! So, I'm looking in the candy aisle and decided upon Worthers. Double yum.

I pounded them with a ladle (didn't want to burn out my little food processor)and subbed for the pecans directly. They busted quite nicely with the ladle but my husband said he could hear me outside the apartment- oops!! I also used 2 tbsp of cocoa instead of 1 1/2.

But they were strong!! Like, not so good strong! So, I added a tablespoon of cinnamon. I figured if it was gonna burn, it might as well have a spicy burn. That did the trick! Fantastic!

I made a quick cinnamon sugar mix and rolled each ball in it. Glistening deliciousness!


Then there was the second recipe- yes, two... 11 moms together with no kids for three days? We need two batches!!

~~~~~~~~~~~~~~~~~~~~~~~~~~~~~~~~~~~~~~~~~~~
Midnight Rum Balls


1 small package (8.5 oz.) Oreo cookies
1/2 cup confectioner's sugar
1 cup finely chopped nuts, although they can be omitted
3 Tbsp unsweetened cocoa powder
2 Tbsp corn syrup
1/3 cup rum
granulated sugar

Put whole cookies in food processor and whiz until finely crushed. In medium bowl, combine crumbs, powdered sugar, nuts, and cocoa. Blend in corn syrup and rum. Wet hands and shape mixture into one-inch balls; roll in granulated sugar. Store covered, in a cool place. (Rum balls are better after they have "mellowed" for a day or two.)
~~~~~~~~~~~~~~~~~~~~~~~~~~~~~~~~~~~~~~~~~~~

So, I don't eat oreos. They leave a fatty film on the roof of my mouth like balogna and I can't stand it. (I'm sure you didn't want that association in you mind! Sorry!)

I figured that everyone else in the world does, so I just wouldn't eat them.

But once I put them in the mixer, it just turned to a ever so slightly moist dark chocolate crumbs. No sign of the nasty filling. Hooray!

I intended to follow the recipe, omitting the nuts and subbing a few more oreos for dry ingredient ratios, but with a little change to the rum.

I had some butterscotch schnapps that I wanted to use (um, buttery chocolate? Yum!) but not quite enough. Then, while digging around my baking box, I found some orange emulsion. Dark chocolate and orange? You know they go together! So, I used the rest of the butterscotch, a teaspoon of emulsion, and topped off my 1/3 cup with rum.

So as I'm mixing it altogether, I noticed that it's way too wet. Not sure why, but it is not going to roll like the first batch.

So, I added a little more cocoa powder/oreos until it looked right. I don't know how much though, so sorry :(

I wanted these to have a little different look than the first ones so I rolled them in powdered sugar. They were fluffy white little balls! They looked great. Fast forward through the overnight packing and the 10 hour drive and they looked...well...like the moisture had taken over:


Ok, so I know this isn't the best pic and obviously it was after some (most) were gone. But, it's still a pic so thanks to my friend Y for taking pics of everything that weekend!! I can't believe I forgot completely!

But even if they looked odd, they tasted marvelously! Dark chocolate orange was definitely a great choice!

Monday, July 4, 2011

Previous Entries

Okay y'all. 

I've taken the time to create a quick entry about each cake I've made. 

That I have pictures of or remember. 

If you know one I've missed, help a sister out! Send me the pic and I'll add it in! 

Until the next cake (which could be a while with this whole moving to another state thing) happy eating!

Rhinovirus, Salmonella typhi, and bovine spongiform encephalopathy - OH MY!

This past May, my husband graduated with his Master's from TTU-HSC and our friend Stanzie graduated from the same undergrad program as my husband the year before (that's right- one year from BS to MS! :)

We had a double party at Shogun's. Yum!

But, before that...

Her mom had asked me to make a cake within a certain budget but gave me total creative liberties. 

Oh yeah!

So, I knew I wanted to do a giant Double T. 

And something science-y. 

And funny. 

This time, I asked my husband for help. We googled together. It was nice ;)

We found a particular website that markets germs/diseases as 'stuffed animals'. 

That was the money maker right there!

We carefully chose a few that they had particularly studied during their courses. 

Well, and the mad cow disease. He didn't want it, but it was too cute not to use!
Can you find it?


There is also rhinovirus (common cold- blue clusters), salmonella typhi (typhoid fever- red one), lyme disease (green twist), ebola (brown) and my favorite: 


the T4 bacteriophage! 

I even made sure his 'head' had 12 sides with 20 verticies.  

Because I'm awesome that way.

And because Stanzie has the stuffed animal of it. 

But it really was fun to see their friends kind of guess at the different germies :)