Showing posts with label chocolate. Show all posts

Wednesday, July 18, 2012

Wedding Cake!

My first wedding cake- hooray!!

I was excited and a little nervous because I haven't made such a big one, or one of such importance!

But it was fun and the Bride loved it!

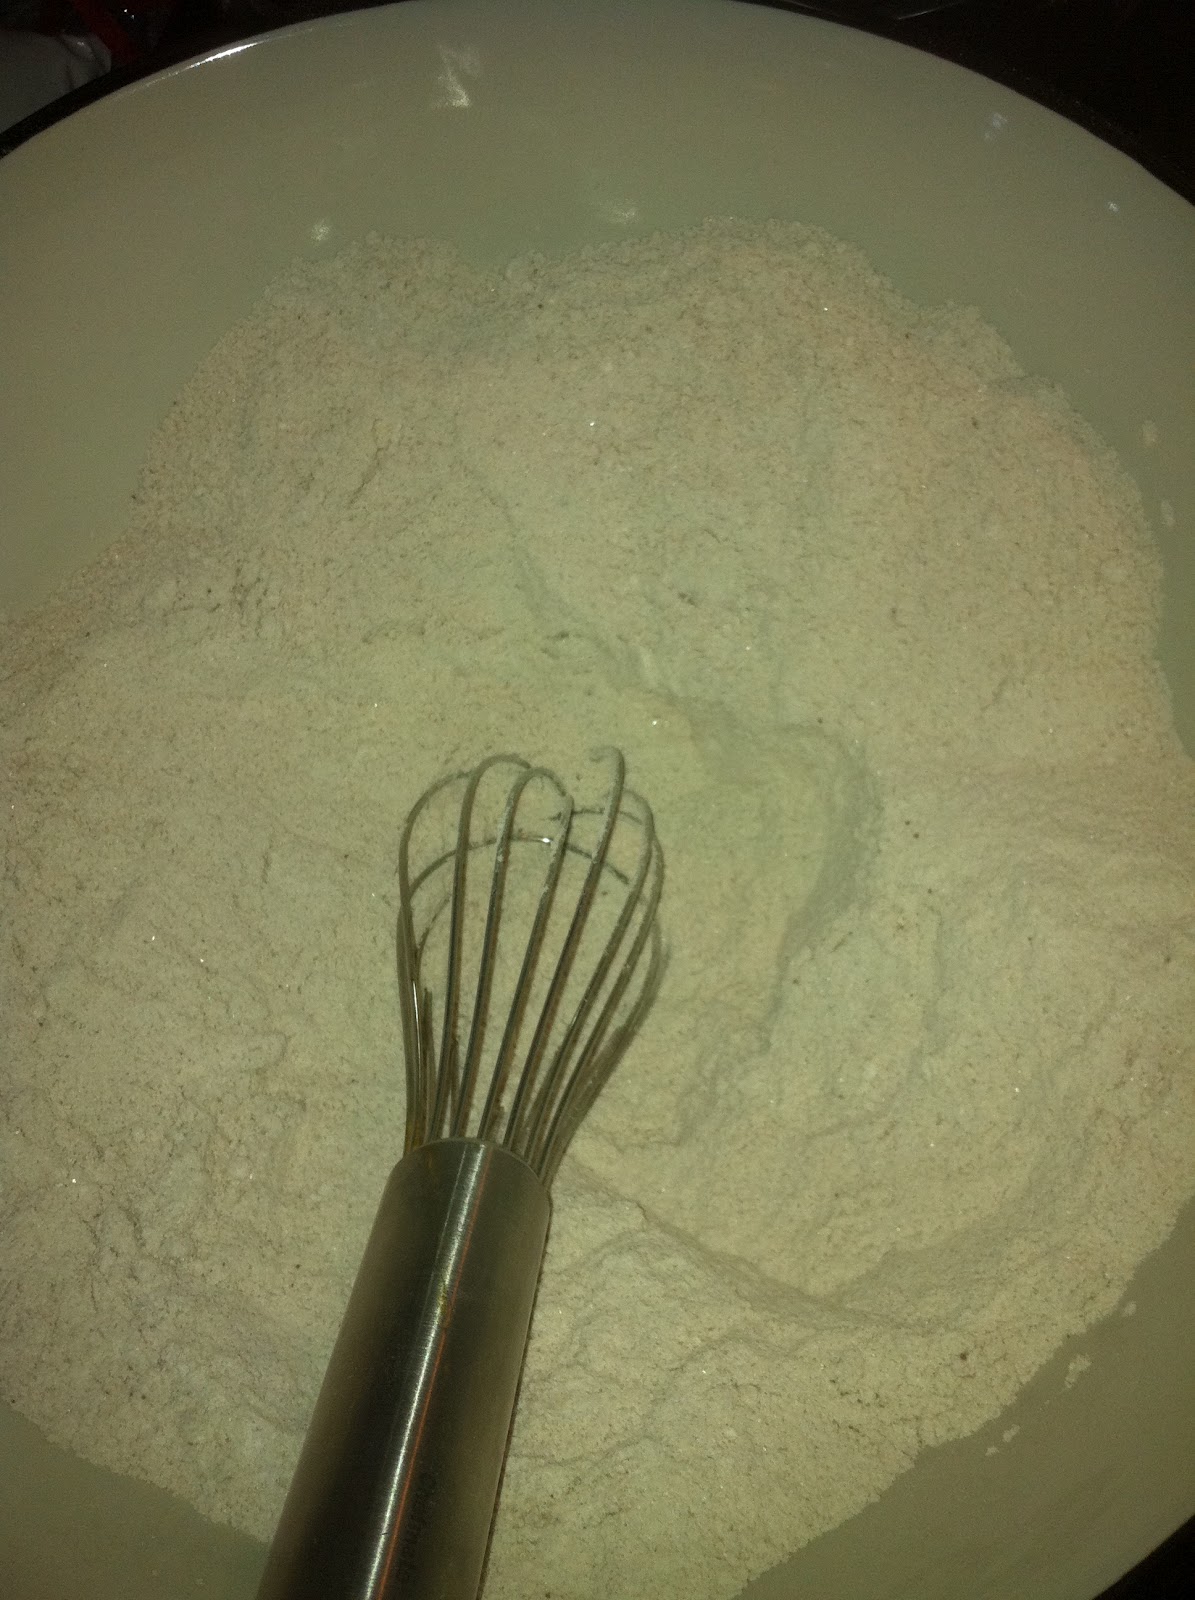
They chose a cinnamon cake with cream cheese frosting.

See that cinnamon-y swirl?? 


Remember my other post about the flower nails? 

Well, I'm just loving using them! 

I also learned that instead of dowels, straws are a great option!


They displace less cake, and I'm not worried about leaving a splinter in the cake!

I was also excited because I read that milkshake straws work better because they're so much bigger, and I found some in the ice cream section at Winn Dixie.

So, the cake wasn't very intricate, but still just lovely!

I used a 'diamond' banding around the bottom of the cake that was 5 rows tall, and then added the big diamonds on the corners.


After talking to the bride and her friends, there was a discussion about freezing the top layer for the anniversary. The bride wasn't too keen on adding another layer to the cake, but the friends were insistent to the tradition. 

I remembered that my mom found these great little mini cake pans for me. I told her I could make one for both the bride and groom, and in their favorite flavors: Lemon and Red Velvet. 

I used the recipes from Ming Makes Cupcakes, since I didn't need a large batch, and the pans were closer to cupcake size. 

But, I didn't tell her the surprise. After speaking with her friends, we decided to make the cakes a little special for each of them. 

A loves Chanel and purple, so it was no contest to make a purse-themed bag!

I started with the classic quilted look from the purses:


Next, I added a golden chain and made the logo out of gumpaste.


Then, for D's Red Velvet, his sister found out his favorite shoe:

The Air Jordan XXIII

I decided to take the swirly design and add it to the bottom tier. 

Looking back, I probably should have made the second tier have some little laces loop around, but hindsight is 20/20!


I did make the crazy jumpman and the number 23 out of gumpaste, and I think they turned out just fine. 

They even got added to the special table for the bride and groom, instead of the big cake display. 


I call that a success!


Late night cupcaking!


The end of school had me making two batches of cupcakes.

The first were goodbye cupcake's for K's class. 

She left about 10 days early to spend time at Granny and Grandpa's in Texas, so we had a send-off: 

Hugs and Kisses!


The same night, I decided to make different cake and frosting flavor combinations for her teacher. She and her husband hired me for their wedding cake and needed to make some decisions! 

It was fun getting to create flavor combinations. 

I think I sent them about 20 different ones!

I know I have some other pictures (with better views of the labels because I don't remember what all I came up with) but I can't find it at the moment. 


I promise to find it and edit the post soon!

First 'Real' Cake Order!

I have an email just for cake stuffs. 

It's synced to my iphone accounts. 

It is never used. 

Which is sad because it has the cutest ice cream background that makes me so happy!

But then.....

I got an email in it for an order!! 

Hot dog!

She lives in my building and her friend remembered my little flyer from a networking night the office hosted.

The order was a red velvet cake with cream cheese frosting, decorated with zebra stripes and a pink bow!

In case you're looking for an excellent red velvet cake recipe, look no further! I got this one from my favorite baking blog: Bakerella!

You start by mixing the liquids separately from the dry ingredients.


Then, it looks pink, so you add more red food coloring.


Sift together your drying ingredients, including the cocoa.


There's just a hint of brown, but that will combine with the vinegar and food coloring to make a nice red for the cake!


Now, for the combining!

Pour right into a little well. Makes it easier to ensure you don't have clumpy flour parts on the bottom.


You might be concerned that it will still be pink, but after mixing it, compare bowls:


Definitely redder, about as red as a spatula. 

That's good enough!


Pour into the ginormous pan, being careful not to knock over the flower nails

Don't know about that?? 

Add a few to the inside of a large pan (upside down, of course) and they'll conduct heat during baking to help you have a more even (flat) cake!


See how the nails stay upright in the pan? What a great trick!


Once the cake cools, you have to flip it out with those flower nails. 

It's a little tricky. 

Especially on a 16" cake. 

But still possible!


A few tiny holes are totally worth having an even cake for decorating!! 

You may not even have to cut a bit of it!

Next up: Frosting!


Damming is mostly for when you are stacking layers. You're dam frosting is a little stiffer to keep the rest of the frosting/filling from smooshing out, but it works nicely for getting an even amount on a large cake.


And God bless the disposable icing bag inventor!

 Snip the tip, fill it up, squeeze it out, throw it away!!


Now, the nice icing will make it easier to smooth the fondant.


One big piece lays right over the whole cake!


Don't worry about seeing the frosting lines. They'll smooth right out!


Make sure to work the corner so it doesn't have wrinkles.


Trim the extra and start on your pink ribbon.


Then, you can add little funky black pieces. 

(ps- I don't ever make my own black fondant. It's just too tricky to get it not gray. And with that much coloring, I'm sure the flavor would start to get wonky. Go ahead and buy Duff's brand. I won't tell!)


Dust off any excess powdered sugar.


Add a fondant (gumpaste is totally what I should have done instead! much stiffer) bow and you're ready to go!


Green is my favorite color!

Seems most of my baking this year has been related to my husband's work...but at least it gives me a reason to try new things!

They had a charity bake sale on St. Patrick's Day, and I couldn't decide on one flavor, so I went with two! 

The first is White Chocolate Cinnamon Swirl. 

Yum. 

So, to stay with the St. Paddy's theme, I added a little green food coloring (my favorite color!) to the batter. 


Don't worry: that's not a pad of butter!

Dove white chocolate. It's so worth it to have to unwrap each little square!


Before I placed them in the oven, I just added it right on top, but because of its weight, it sank right down during baking:


Then I added a little of my special buttercream frosting, and decided it needed a little more green.


See how easy? Just a roll around in some sugar on the side and a couple sprinkles on the top!


 Next up: Chocolatey Chunk!


 (I forgot to take a before picture, but I just put in some mini Milky Ways before they were baked.)


Since my frosting was green, I didn't want to use the same green sprinkles, so I chose the little pearls. I think they give it such a sweet touch.

Now they're ready for purchase! 


And one shot of the insides:


Tuesday, February 28, 2012

Doctor cupcakes!

Another one of Stephen's coworkers was 'retiring' to head off to med school, and I was, of course, volunteered to make something sweet :)

So, I had just found this site and really wanted to try some new flavors. I used #22 (minus the nutella ganache) for these:


And then I also used #29: Strawberry jam filled vanilla - equally delicious (but they only make around 12-13 per recipe!)

So, the final decoration for the future med student: 


Super fun, but actually a lot of work - there were tons of tiny details to work on, and there wasn't a lot of repetition, so I couldn't get a good flow. But I really liked the end product, so it was worth it! 

Monday, September 12, 2011

1st post-move cake!

I haven't made a cake since May! 

(might have something to do with the fact that this summer I drove through 16 states in 30 days and we moved halfway across the country)

So, I don't have a ginormous kitchen any more (although I'm thinking I actually have the same amount of counter space in this apartment...hmm....) but I was anxious to get back to baking!

My husband volunteered me (behind my back) to make a cake for a going away party at his work. 
For someone he's barely met. 
Because he didn't want to pay the $10 toward the party. 
(Does he know how much these cakes cost???)


Anyway...  my husband tells me that this person worked in HIV research and could I make an HIV cake for him? Well, sure! 

Here is my reference picture:

Of course while I'm counting how many circles and bars to make he's blabbing to me about how it doesn't have to be perfect. Um... death stare! Of course it should be exact!

(Later I realized that he meant this is a 2D pic of a 3D form and we're looking into the inside and there could be lots of little yellow 'trees' all over the outside of the form, not necessarily 13 of them or even these colors... but oh well, right?)
Okay...this time around I tried to do a little more photo documenting instead of just presenting a final product. 

Unfortunately, I didn't remember this until I had baked and covered the cake. 

Oops!

It's a shame too, because I used a dome cake this time (thanks to my friend J for giving that pan set to me!) and it would have been neat to show how I had to fit it all together.

Maybe S will take a picture when they cut into it at the party?

So, I remembered to take pics right in the middle of my mess-making...
I, of course, always make a mess when I bake. 

You can see a small part of that constarch-y explosion with my little cut pieces:

Just imagine it all over the kitchen!

I got the base fondant layers on the cake:


No, those aren't two different cakes... I was trying out flash settings on my iphone. The second picture is a little more realistic of the actual colors.


Once I was able to focus on the details part of the decorating, I realized that my 'trees' were going to be way too big to put on a toothpick and still be supported in the cake. I almost taped toothpicks together to make it longer. (I was desperate!)

Then I remembered I had some lollipop sticks from some cake pops! Phew!

Cover with a little fondant rolled around the middle and they're all set!

Next up: add the yellow tops to the 'trees'. 

Maybe I should ask my husband what the 'trees' really are? naaaaah!


And then while those were setting, I got the orange and white balls and added them on.


My next step was going to be to get the last tiny bit of my buttercream frosting to pipe the little white lines and dots in the center of the image. 

But, I couldn't get my makeshift piping bag (ziplock) to pipe that small in a smooth line. 

Enter the fondant again!


I ended up painting the top of the little designs with some gel coloring b/c I was afraid it would take too long to color each part of the fondant the way I wanted (and make it in time for the party), but I'm actually really pleased with the painted look. 

It's kinda fun, and the white borders make them stand out!


Next, I added the 'trees'. 


Looks pretty, huh? I really like the bright colors against each other!


And, I like how the 'trees' give it a little more 3D awesomeness.


Okay, and just for a little comparison:


This was fun to make, and I'm happy to be baking again!

~~~~~~~~~~~~

Got a text from S after I took it up to his work:

'Everyone loves it, by the way. Dr. Gillis identified it right when I walked in the door and she made Marc ID it before the party started. He had a great look on his face. Good job, babe.'

Hooray!