I have an email just for cake stuffs.
It's synced to my iphone accounts.
It is never used.
Which is sad because it has the cutest ice cream background that makes me so happy!
But then.....
I got an email in it for an order!!
Hot dog!
She lives in my building and her friend remembered my little flyer from a networking night the office hosted.
The order was a red velvet cake with cream cheese frosting, decorated with zebra stripes and a pink bow!
In case you're looking for an excellent red velvet cake recipe, look no further! I got this one from my favorite baking blog: Bakerella!
You start by mixing the liquids separately from the dry ingredients.

Then, it looks pink, so you add more red food coloring.

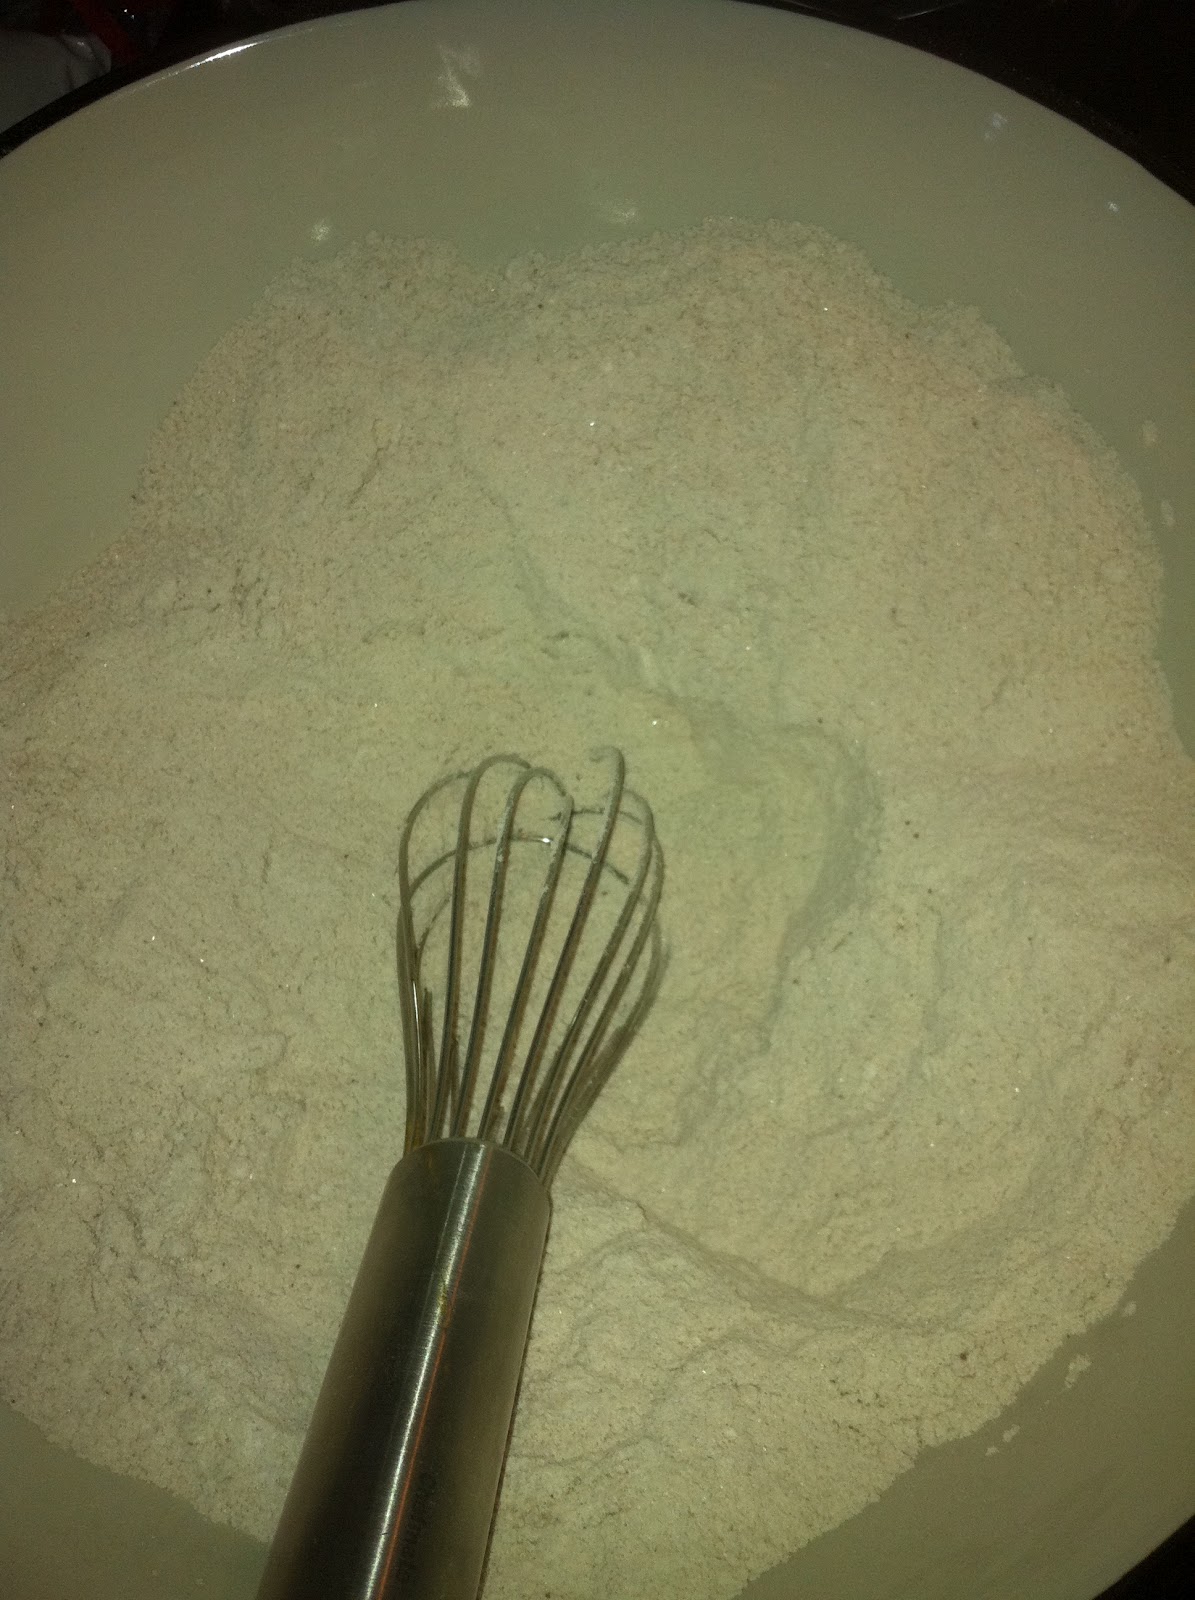
Sift together your drying ingredients, including the cocoa.

There's just a hint of brown, but that will combine with the vinegar and food coloring to make a nice red for the cake!
Now, for the combining!

Pour right into a little well. Makes it easier to ensure you don't have clumpy flour parts on the bottom.

You might be concerned that it will still be pink, but after mixing it, compare bowls:

Definitely redder, about as red as a spatula.
That's good enough!

Pour into the ginormous pan, being careful not to knock over the flower nails.
Don't know about that??
Add a few to the inside of a large pan (upside down, of course) and they'll conduct heat during baking to help you have a more even (flat) cake!

See how the nails stay upright in the pan? What a great trick!

Once the cake cools, you have to flip it out with those flower nails.
It's a little tricky.
Especially on a 16" cake.
But still possible!

A few tiny holes are totally worth having an even cake for decorating!!
You may not even have to cut a bit of it!
Next up: Frosting!

Damming is mostly for when you are stacking layers. You're dam frosting is a little stiffer to keep the rest of the frosting/filling from smooshing out, but it works nicely for getting an even amount on a large cake.

And God bless the disposable icing bag inventor!
Snip the tip, fill it up, squeeze it out, throw it away!!

Now, the nice icing will make it easier to smooth the fondant.

One big piece lays right over the whole cake!

Don't worry about seeing the frosting lines. They'll smooth right out!

Make sure to work the corner so it doesn't have wrinkles.

Trim the extra and start on your pink ribbon.

Then, you can add little funky black pieces.
(ps- I don't ever make my own black fondant. It's just too tricky to get it not gray. And with that much coloring, I'm sure the flavor would start to get wonky. Go ahead and buy Duff's brand. I won't tell!)

Dust off any excess powdered sugar.

Add a fondant (gumpaste is totally what I should have done instead! much stiffer) bow and you're ready to go!

No comments:
Post a Comment